
An excavator cylinder that leaks at the rod usually has a worn rod seal, a hardened wiper or a damaged rod surface, and fitting a new seal without finding out which will bring the leak back. The first job is to separate an external rod leak from an internal piston bypass, because the two need different parts.
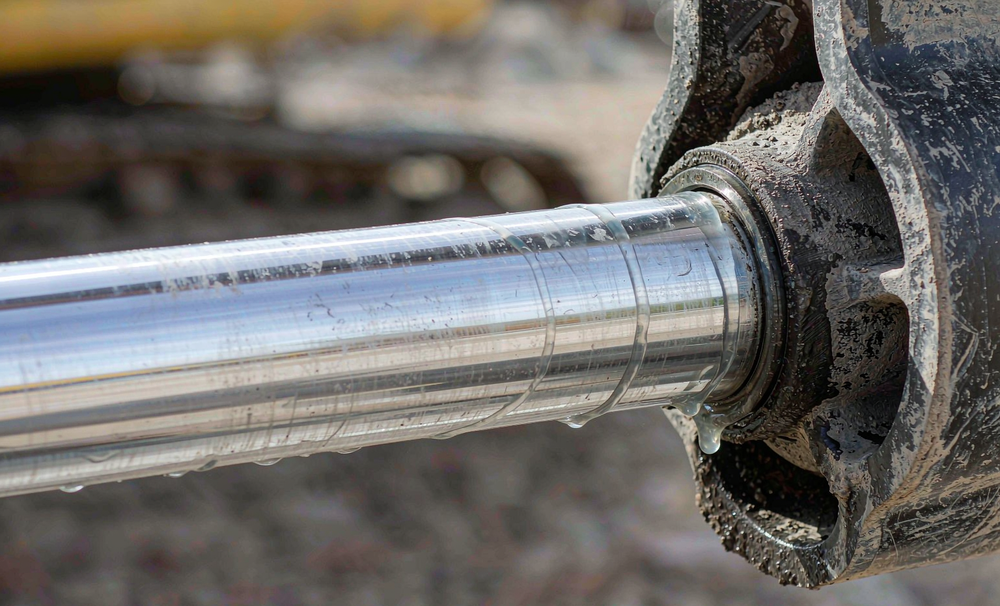
Is the oil escaping past the rod seal or past the piston?
Both faults make the machine weak and end with a cylinder on the bench, but only one leaves oil on the ground.
- Rod seal leak: an oil film or drips at the gland, dust sticking to the oil, a wet streak down the barrel when the rod retracts. Pressure still holds.
- Piston seal bypass: no external oil, but the rod creeps out under load, one direction is slower than the other, the oil runs hot and the pump sounds loaded at idle.
A drift test separates them. Warm the oil, raise the bucket about 100 mm on level ground and stop the engine with the lever in neutral. Mark the rod with chalk and wait ten minutes. A rod that extends on its own is bypassing at the piston. If the creep stops when the circuit is isolated at the control valve, the spool is passing oil, not the cylinder.
What does the leak pattern tell you?
- A thin film that returns after you wipe it: a worn or glazed rod seal lip. The cheapest stage to intervene.
- Drips that increase as the rod retracts: a cut lip, or a seal fitted the wrong way round.
- Dry at rest, wet under pressure: the lip is not sealing at low pressure, or a back-up ring has extruded.
- Oil at the gland joint, not on the rod: the gland O-ring or retaining bolts. Check torque before opening.
- Oil at the ports or fittings: leave the cylinder closed. The fault is a fitting, an O-ring or a cracked port.
- One side of the seal flat, the other like new: side load, not seal quality.
Check the rod before you fit a new seal
The rod is the sealing surface; a new lip cannot seal against a damaged one, and this is where most reseals are wasted.
- Fingernail test: run a nail along the full stroke, top, bottom and both sides. Anything that catches will cut a new lip within a few strokes.
- Chrome: look for flaking, pitting and rust bleeding from the edge of the plating. Rods normally carry a hard-chrome layer of roughly 20–40 µm; once it is broken through, corrosion spreads under the chrome.
- Straightness: roll the rod on a straight bench, or check runout with a dial gauge. A bend visible by eye is already far past the limit.
- Diameter: measure with a micrometer at three points and at 90° to each other. Wear and ovality change the fit, so order by measurement plus profile, not by the parts book alone.
Which seal material suits an excavator cylinder?
- NBR: mineral oil, roughly −30 °C to +100 °C. Adequate where the machine is not running hot.
- PU: the usual choice for excavator rod seals, commonly Shore A 90–95, with better extrusion and abrasion resistance at 25–35 MPa.
- PTFE-faced: low friction and stable at high pressure, but less forgiving of a rough rod.
- FKM: for high temperature, such as a machine in high ambient heat.
Above roughly 25 MPa a rod seal needs a back-up ring or a composite profile. The rod-to-gland clearance opens up as the guide bush wears, and a soft seal will extrude into that gap and be cut away in a few hundred hours.
Why does a new seal fail again within a few hundred hours?
- Dirt ingress: a torn or hardened wiper lets grit past on every retraction. Replace the wiper with the rod seal.
- A scored or pitted rod: the new lip is cut almost immediately.
- Wrong orientation: U-cup lips must face the pressure.
- Assembly damage: threads, port edges and snap-ring grooves cut the lip as it slides on. Tape the threads and lubricate with system oil.
- Contaminated oil: cloudy oil turns the seal into a grinding paste. Flush before reassembly.
Where does the side load that kills rod seals come from?
On a working excavator, most rod seal failures are alignment failures. Worn bucket pins and bushings let the linkage move laterally, and the cylinder rod carries that movement, wiping one side of the seal. A bent rod, or an operator who pries with the side of the bucket, does the same.
Before resealing, check pin and bushing clearance at the rod eye and through the bucket linkage. If the pin rocks visibly, the new seal will follow the old one. Replacing the boom pin and the bucket pins and bushings is part of the repair, and a pin removal tool saves a day of heat and hammering on a seized pin.
Reseal, rebuild or replace?
Three surfaces decide it: bore, rod and gland.
- Reseal when the bore is smooth, the chrome is intact and the guide bush is not oval. Parts are cheap; removing the cylinder is the real cost.
- Rebuild when the bore is scored or the gland is damaged: honing or re-boring and an oversized piston seal.
- Replace when the rod is bent, deeply scored or needs re-chroming. On a 20-tonne machine the removal labour dominates the bill, and a replacement cylinder is often cheaper than machining.
What to measure before ordering a seal kit
- Machine make, model and serial number.
- Which cylinder: boom, arm, bucket, blade or stabiliser.
- Rod diameter, gland bore, groove width and depth, seal height.
- Profile: single or double lip, step or compact seal, and whether a back-up ring was fitted.
- A photo of the old seal in cross-section and of the rod surface.
Identify the cylinder before dismantling it: boom, arm and bucket cylinders on one machine carry different seal sizes.