
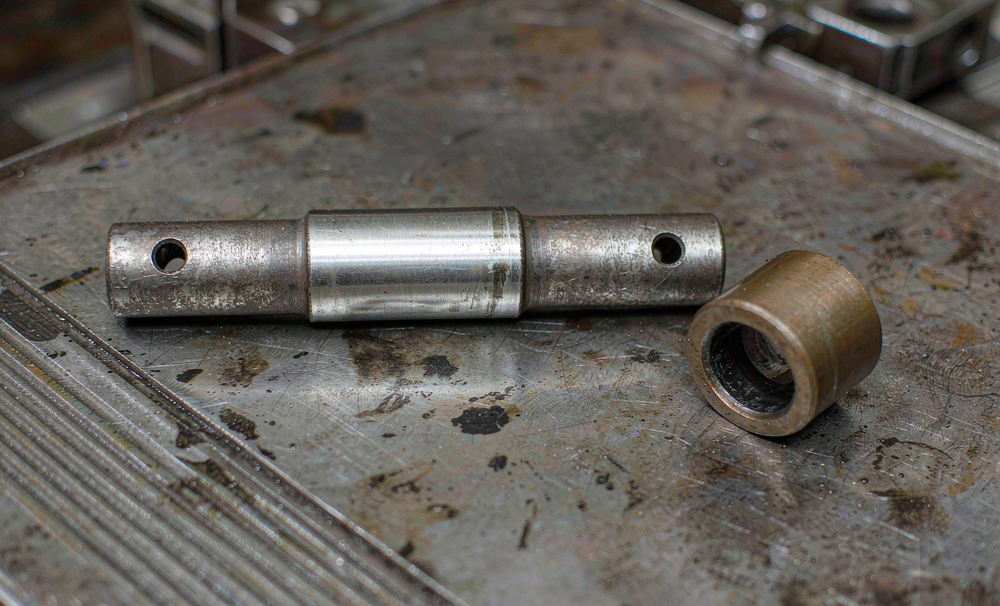
A worn bushing is confirmed by measuring radial clearance between the pin and the bushing bore: a new or rebuilt joint runs roughly 0.2–0.5 mm, and once that gap reaches about 1.5 mm the bushing's hardened layer is largely gone and the pair should be replaced. The pin and the bushing wear as a matched pair, so replacing only the pin is the mistake that turns a cheap repair into a line-boring job.
Why does the bushing wear out before the pin?
The bushing is the sacrificial half of the joint. It is pressed into the boss — the bore in the bucket ear, the H-link or the arm — and the pin rotates inside it. The bushing is made from a grade that is deliberately softer than the pin so that the cheap, replaceable sleeve absorbs the wear instead of the expensive structural bore behind it. That is the whole design intent, and it is why you inspect the bushing first.
Three things kill a bushing early, and none of them is the part itself:
- Grease starvation. A joint needs fresh grease at the specified interval, pumped until clean grease purges past the seal. A blocked or missing grease nipple is a bushing failure with a date already on it.
- Grit ingress. Perished or missing dust seals let fines into the gap. Once grit is inside, it acts as a lapping compound and the bore goes oval rather than wearing evenly.
- Side loading. Constant twisting of the bucket, or digging off-line with the machine, concentrates all the load onto one narrow band of the bore instead of spreading it around the circumference.
How do you measure wear without pulling the machine apart?
Park on flat, hard ground. Set the boom and arm roughly parallel and lower the bucket until it hangs 10–20 cm clear. Shut the engine down and release residual hydraulic pressure before anyone puts a hand near the joint.
Clean the dirt and old grease away from the end of the pin and from the dust seal. You cannot measure through grit. Then insert a feeler gauge into the gap between pin and bushing on the unloaded side of the joint — the gap opens on the side away from the digging force. Take readings at several positions around the joint, because wear is rarely even and a single number can mislead you.
What clearance means the bushing has to go?
Use the machine's own service manual as the final word, because accepted limits differ between models and applications. As general field guidance:
- 0.2–0.5 mm — normal radial clearance on a new or freshly rebuilt joint.
- Around 1.5 mm — the bushing's hardened surface layer is close to gone. Plan the replacement.
- 2.0 mm and above — continued operation is hammering the pin eyes. The repair is no longer a parts purchase.
How do you check the parts once they are out?
Bushing. Measure the bore with an inside micrometer, and check roundness as well as diameter. A bore that still measures close to nominal on its long axis but has gone oval is still scrap — the pin will rattle in it from the first stroke.
Pin. Use a caliper across the worn contact band and compare it to an unworn section near the end. If the surface-hardened layer has worn through, the pin is done regardless of how the diameter measures.
Pin eye (the boss itself). This is the one that decides the size of the bill. If the structural eye has worn oval by more than roughly 0.5 mm, new pins and bushings will be loose from day one and the bore needs weld overlay and line boring before anything new goes in.
What should you specify when you order?
Order bushings and pins together as matched sets, and give the supplier enough to identify the joint: the machine make and model, the position in the linkage, the pin diameter and length, the bushing outer and inner diameter, and the wall thickness. A photograph of the old part next to a rule saves a round of questions.
Ask what the bushing is made from and how it is heat treated. Hardened and through-hardened alloy bushings are the norm for high-load positions; a bushing that is simply a piece of mild steel tube will not last. If the machine works in abrasive or wet conditions, ask about the seal arrangement as well, because the seal is what keeps the grit out in the first place.
Buying pin and bushing sets together is also the practical way to keep a spare kit on the shelf. These are small, cheap parts that stop a machine, and holding a set for your most-used joints costs less than a single day of standing time. If you are building that kit out, our bucket pins and bucket bushings are listed with the position and machine they fit, and the Komatsu bushings and arm bushings pages cover the common mid-size positions. If the machine is running a quick coupler, check that joint as well, because a worn coupler bushing shows up as bucket rattle that people usually misdiagnose as a worn bucket.
Finally, log it. For every joint, record the machine hours at installation and the measured clearance at each service. That single line per joint tells you which positions wear fast on your machines and lets you schedule the replacement instead of discovering it.